
Crown, Light Rail, and Filler: The Trim That Finishes a Kitchen
Two kitchens can use the same doors, the same paint colour and the same hardware, and one will look custom while the other looks installed. The difference is almost never the cabinets. It's the trim: the crown at the top, the light rail underneath, the scribe against the wall, the fillers at the corners, and the finished panels at the exposed ends. These are the pieces that make cabinetry belong to a room rather than sit in it.
Most of it costs a few hundred dollars per element. All of it has to be decided before production. Here's the whole vocabulary.
Crown molding: profile, scale, and stacking
Crown bridges the gap between the top of a cabinet and the ceiling. The two things that decide whether it looks right are scale and stacking.
Scale to the ceiling, not to the cabinet. On an 8-foot ceiling, a crown taller than about 3 inches of vertical projection makes the room feel lower. On a 9-foot ceiling you can run 4 to 5 inches. At 10 feet and above, a stacked build-up of 6 to 8 inches looks correct and anything smaller looks mean.
Stacking means combining profiles — a cove, a fillet and a crown, or a light cove over a dentil — to build depth. It's what makes traditional cabinetry read as millwork. A single-piece crown is a modern or transitional detail; a three-part stack belongs in a traditional kitchen and is the visual signature of high-end period work.
Profiles that work. A simple cove is the safest choice and pairs with almost any door. Ogee crown is the traditional default. Egg-and-dart, dentil and rope details are period-specific and date quickly outside the right architecture. On contemporary work, skip crown entirely: use a flat filler panel or a shadow gap. Matching the crown to the door style matters — see cabinet door styles explained for how the two decisions interact.
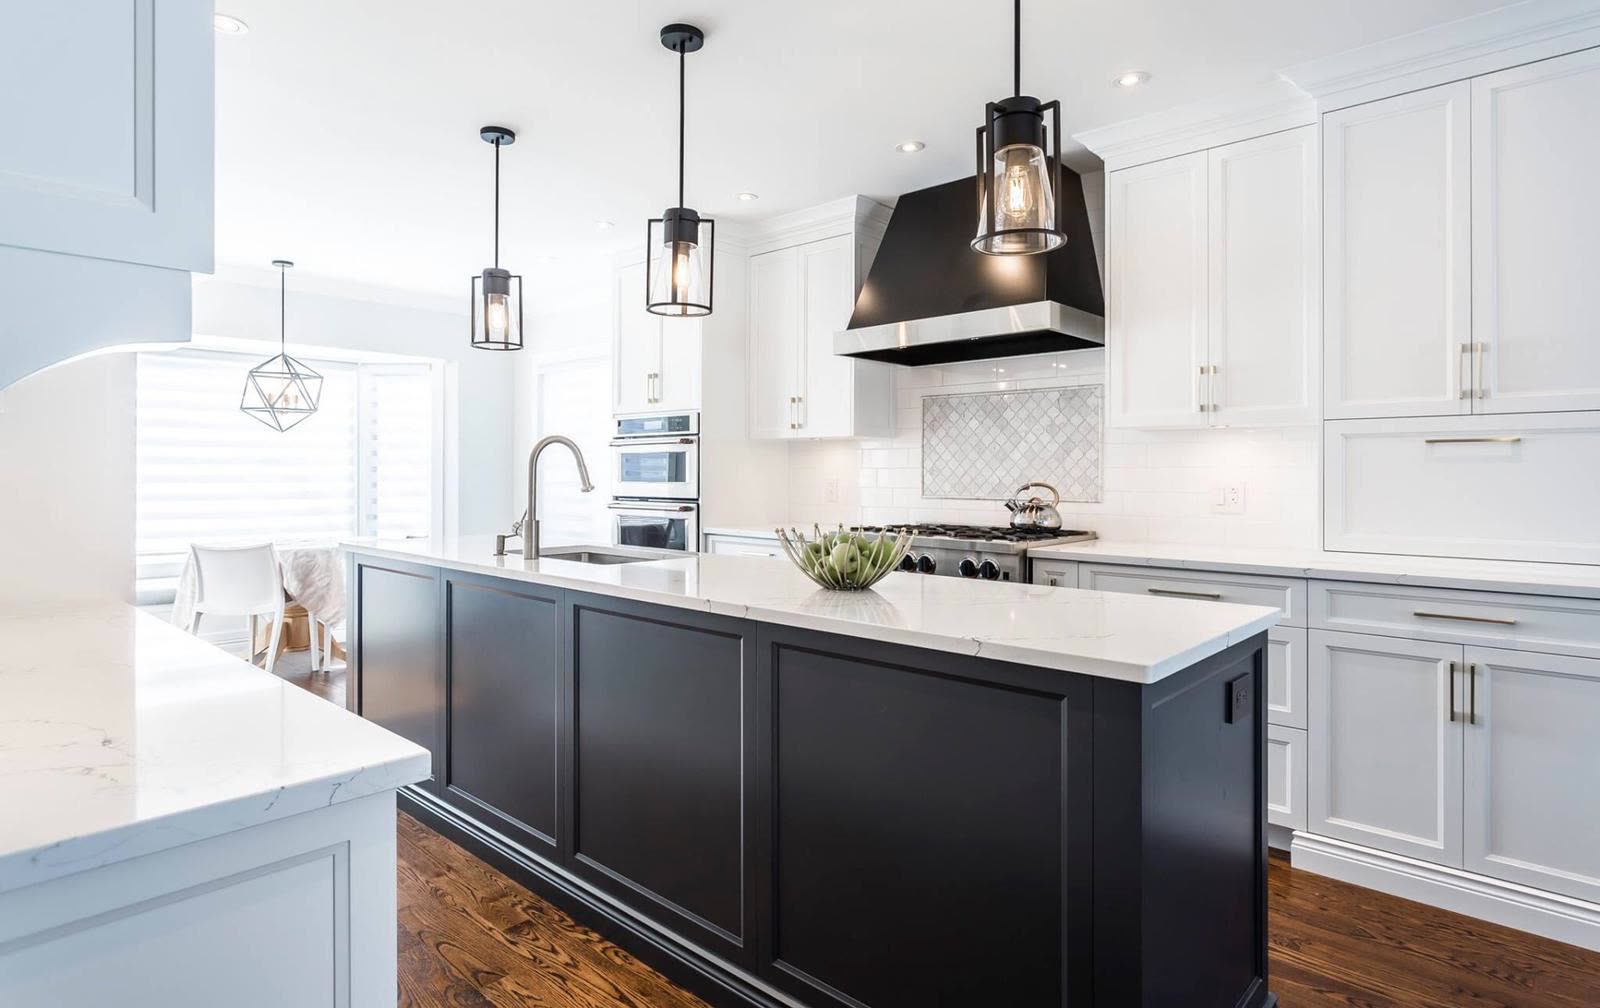
Light rail: the trim nobody names
Light rail is the small molding applied under the front edge of an upper cabinet. Its job is to hide undercabinet lighting and the wiring from the sightline of someone standing across the room. On a 12-inch upper, a 3/4 to 1.5-inch light rail conceals a slim LED channel completely.
Two rules. First, size it to the lighting: measure the actual channel and driver depth, add a quarter inch, and specify accordingly — a 3/4-inch rail over a 1-inch fixture hides nothing. Second, run it continuously across an elevation, including across gaps and appliance openings where the line should read unbroken. Where a run of cabinets is interrupted by a window, the rail should die cleanly into a return, not stop in mid-air.
On handleless and minimalist kitchens, light rail is often replaced by a recessed channel routed into the underside of the cabinet itself, which is cleaner and costs a bit more. Details in integrated cabinet lighting.
Scribe: the humble strip that saves every installation
Walls are not plumb, corners are not square, and ceilings are not level. In thirty years of measuring, the average interior wall is out by 1/4 to 3/4 of an inch over a cabinet run, and older buildings are far worse — 1.5 inches over eight feet in a pre-war Manhattan apartment is unremarkable.
A scribe molding is a thin strip of matching finished material, typically 3/4 to 1.5 inches wide, applied where cabinetry meets a wall or ceiling and hand-cut on site to follow the actual surface. It is not a cover-up. It is the correct, intended detail, and every serious cabinet job includes it. The alternative — butting a factory-square cabinet to a wavy wall — produces a tapered gap that draws the eye immediately.
What you should ask a cabinetmaker: "how much scribe allowance is on the drawings?" The answer should be a specific number, typically 1/2 to 1 inch at each wall termination, and the material should be the same finish batch as the doors. Scribe cut from a different batch of painted stock will show as a subtly different sheen in raking light.
Fillers: the difference between a plan and a build
A filler is a blank strip of finished material between two cabinets, or between a cabinet and a wall. They exist for a reason: door and drawer hardware needs room to operate.
- Inside corners need 2 to 3 inches of filler so that two doors, or a door and a dishwasher door, can open past 90 degrees without colliding. Skip this and you build a kitchen where the dishwasher can't open with the corner cabinet closed.
- Against a wall, a filler of 1 to 3 inches lets the end door clear the wall casing or the return, and gives the installer something to scribe.
- Beside a refrigerator, the filler accommodates door swing and the hinge-side clearance the manufacturer requires, usually 2 to 3 inches on a French-door unit.
Fillers should be as narrow as function allows and identical in finish to the doors. A poorly planned kitchen has 5-inch fillers because the modules didn't fit the wall — that's a symptom of forcing stock sizes into a custom room. In fully custom work, cabinets are built to the room and fillers exist only where hardware requires them.
End panels: where the money shows
Any cabinet end you can see should be a finished panel, not a cabinet side. On a base cabinet that means a full-depth applied panel matching the door program — if you have shaker doors, the end panel should have a shaker frame. On a tall unit, the panel should extend to the floor and, in traditional work, carry a matching plinth and crown return.
Refrigerator end panels are the ones people economize on and regret: a fridge without a full-depth finished panel beside it looks like an appliance parked next to cabinets. Budget $350 to $900 per finished panel depending on size and door program. On every kitchen we build, every exposed end ships as a finished panel by default, matched in the same finish run as the doors.
The other high-value detail is the furniture base or leg at an island or a sink run — turned legs in traditional work, tapered or square in transitional, a plinth in contemporary. It costs $400 to $1,500 and it converts a box into a piece of furniture.
What all this adds to a kitchen budget
On a typical 22 to 26-linear-foot kitchen, the full trim package — stacked crown, light rail, all scribe and fillers, finished end panels on every exposed end, and a furniture detail at the island — runs roughly $3,500 to $9,000. Contemporary kitchens sit at the low end because there's no crown; traditional kitchens with stacked profiles and furniture bases sit at the high end.
It is money spent on nothing functional and it's the best-looking money in the project. If a quote you're comparing seems unusually low, this is the first place to check — trim is where corners get cut quietly. Our guide to comparing cabinet quotes lists exactly what to ask for line by line.
Practical takeaways
- Scale crown to the ceiling: ~3 inches at 8 feet, 4–5 at 9 feet, stacked 6–8 at 10 feet and above.
- Size light rail to the actual LED channel, and run it unbroken across the elevation.
- Insist on a stated scribe allowance at every wall and ceiling termination, cut from matching stock.
- Fillers at inside corners (2–3 inches) and beside refrigerators are functional, not optional.
- Every visible cabinet end gets a finished panel in the same door program. No exceptions that look good.
Trim is the last thing on the drawing and the first thing your eye reads in the finished room. Book a free 30-minute design consultation to go through your elevations, or explore door programs and profiles in our finishes library.