
10 Kitchen Layout Mistakes a Designer Sees Every Week
Every week, someone walks into one of our showrooms with a floor plan — from a contractor, an architect, or a free online tool — and asks us to quote cabinetry for it. And every week, I find at least one of the same ten mistakes. Not style choices. Functional errors, baked into the drawings, that the owners would have lived with for twenty years.
Beautiful cabinetry cannot rescue a bad layout. So before you fall in love with door samples, check your plan against this list. These are the ten I see most, with the actual dimensions that fix them.
1. Aisles that are too tight — or too wide
The magic numbers: 42 inches minimum for a one-cook aisle, 48 inches where two people work or where an aisle faces the dishwasher or a bank of drawers. Under 40 inches, open appliance doors block the walkway and two people physically cannot pass. But here's the mistake nobody warns about: aisles over 60 inches are also a failure. You end up pivoting and walking three steps with dripping pots between sink and stove. Bigger is not better; correct is better.
2. No landing zones beside appliances
Every hot or heavy thing needs somewhere to go the instant you take it out. Plan 15 inches of counter minimum beside the refrigerator's handle side, 12–18 inches on both sides of the cooktop, and 21 inches beside the sink for the dishwasher-unload stack. The most common victim: the wall oven with zero counter nearby — a roasting pan at 425° and nowhere to put it down except the floor.
3. The refrigerator marooned across the room
The fridge is the only appliance everyone in the house uses. Put it at the edge of the work zone — reachable by kids and snackers without crossing the cook's triangle. Deep in the cooking zone, every glass of juice becomes a collision. And spec counter-depth or fully integrated: a standard-depth fridge protruding 6 inches into an aisle undoes an otherwise perfect plan.
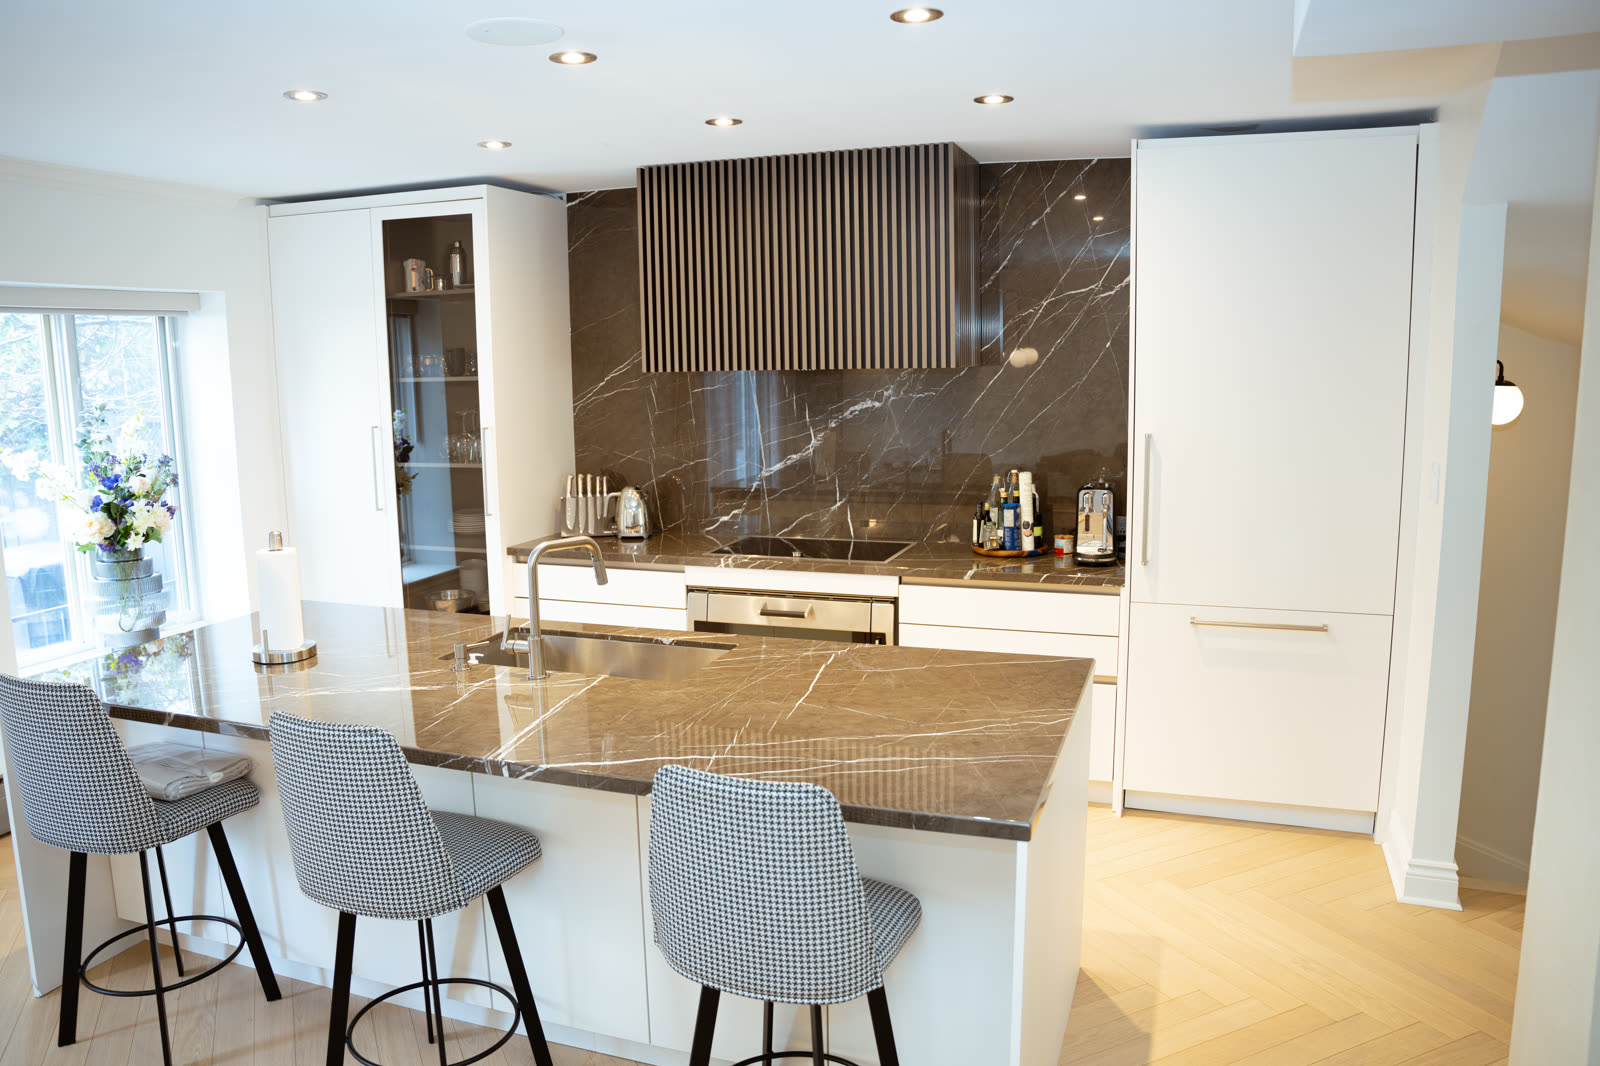
4. Corners solved with a filler and a prayer
Two runs of cabinetry meeting in a corner is geometry; wasting the corner is a choice. Blind-corner cabinets with nothing inside them bury roughly 8 cubic feet of storage per corner. Spec a LeMans pull-out, a corner drawer unit, or plan the corner as an appliance garage. Also check the door-clash detail: a dishwasher or drawer stack placed hard into a corner will collide with the perpendicular run's handles — it needs a minimum 3-inch spacer, designed, not improvised on install day.
5. The island that's too big for the room
Islands fail in both directions, but oversized is the epidemic. If your island is more than 10 feet long without a break, you'll walk around it forty times a day — we call it "the racetrack." Deeper than 48 inches and you can't reach the middle to clean it. And if the room can't hold an island plus 42-inch aisles on all working sides, you don't have room for an island — you have room for a peninsula, which is not a consolation prize. I go deep on this in our kitchen island design guide.
6. Dishwasher and dish storage on opposite sides
Unloading a dishwasher should require zero steps. Put everyday dishes, glasses, and cutlery within one body-turn of the open dishwasher door — ideally in deep drawers directly across or beside it. I've watched families carry every clean plate nine feet, twice a day, for a decade, because the plan put "dish storage" in uppers by the table. Map the unload motion before you approve any plan.
7. Uppers where drawers should be
The biggest storage upgrade of the last twenty years isn't a gadget — it's replacing base-cabinet doors-and-shelves with full-extension deep drawers. Pots, dry goods, even dishes live better in drawers you look down into than caves you kneel in front of. If your plan shows shelved base cabinets anywhere but under the sink, ask why. Drawer bases cost more; they are worth it every day forever.
8. Ignoring the sightline from the door
Stand at the room's main entry point in your plan. What do you see first? In too many layouts the answer is: the side of the refrigerator, or a wall of trash pull-out. The first sightline should land on the island, a feature wall, or the range — the moments you paid for. This costs nothing to fix on paper and everything to fix after.
9. Forgetting the breakfast rush hour
Plans get designed for the dinner-party fantasy and fail the 7:40 a.m. reality: coffee, toaster, lunchboxes, and three people in the same six square feet. Give the morning its own zone — a coffee/breakfast station with its own counter, outlet bank, and ideally its own small sink or at least distance from the main triangle. This one change removes more daily friction than any appliance upgrade.
10. Designing to the old kitchen's plumbing
"The sink has to stay there" is almost never true — moving a drain 6 feet typically costs $1,000–$2,500, which is a rounding error against a poor layout you'll endure for two decades. Design the right kitchen first, then price the trades to achieve it, then compromise knowingly if you must. The order matters. For what those trade-offs do to the total number, see our 2026 custom kitchen cost guide.
How to audit your own plan in twenty minutes
Before any plan gets our sign-off, it survives a walkthrough you can do yourself with a printed floor plan and a pencil. Trace three journeys. First, cook a real meal: fridge to sink to prep counter to stove to serving. Count direction changes and crossings — more than a couple of backtracks means the zones are misordered. Second, unload groceries: door to landing counter to fridge and pantry. If the first flat surface is across the room from the door, Tuesday nights will be annoying forever. Third, empty the dishwasher: open door to plates, glasses, cutlery. Every destination should be within one step and one turn.
Then do the tape-on-the-floor test in your current space — mark the new island, the aisles, the appliance swings with painter's tape and live inside it for a weekend. It costs four dollars and has saved more clients from oversized islands than every rendering we've ever produced. Renderings seduce; tape tells the truth. If the plan survives all four tests, the cabinetry conversation can start — and it will go faster, because the hard thinking is done.
Practical takeaways
- Memorize three numbers: 42" aisles (48" for two cooks), 15" of landing counter at every appliance, 10' maximum island length.
- Walk your plan's three routines on paper: cook dinner, unload the dishwasher, make weekday breakfast. Count the steps.
- Drawers beat doors in base cabinets, corners deserve real mechanisms, and the fridge belongs at the zone's edge.
- Never let existing plumbing design your kitchen — price the move before you surrender to it.
A good custom kitchen starts with a plan that survives this list — and that's precisely what our designers do all day. Book a free 30-minute design consultation and bring your floor plan; we'll audit it against every one of these mistakes before you spend a dollar. Or see how solved layouts look in the flesh in our custom kitchens.