
Kitchen Lighting Design: Layering Light Over Custom Cabinetry
I've watched $80,000 kitchens look like $30,000 kitchens under a single grid of cool-white recessed cans, and I've watched modest kitchens look like magazine spreads because someone spent $3,000 thinking about light. Lighting is the multiplier on everything else in the room — cabinetry finish, stone veining, the color you argued about for three weeks — and it's routinely the last thing planned and the first thing value-engineered. As a cabinetmaker, I have skin in this game: my work is judged under your lighting. So here's the lighting brief we wish every client brought to their electrician.
The three layers, and the order to design them
Good kitchen lighting is three independent, separately switched layers. Design them in this order:
- Task lighting first — light where work happens: under-cabinet strips over every counter, pendants or downlights over the island, a light in the hood over the cooktop. Task light is non-negotiable and positional: it must land between your head and the work, or your own shadow works against you all day.
- Ambient second — the general fill that makes the room navigable: recessed downlights, a central fixture, or cove light. Ambient light supplements the task layer, it doesn't replace it — the single most common kitchen lighting error is a ceiling grid asked to do everything.
- Accent last — the layer that makes the room feel designed: in-cabinet lighting behind glass doors, shelf lighting, toe-kick strips, a picture light over open shelving. Accent is 10% of the lumens and 50% of the atmosphere.
Budget guide for a mid-size kitchen: roughly $1,500–$3,000 for a proper three-layer LED package in fixtures and strips, before the electrician. Against what the cabinetry and stone cost, it's the cheapest transformation in the room.
Recessed cans: fewer, better placed
The builder default — a symmetric grid of cans centered in the room — is geometrically tidy and functionally wrong, because the room's work happens at its edges. Cans belong 24"–30" off the wall, centered over the counter edge, spaced 3–4 feet apart along the runs. Placed there, they light the counters and wash the cabinet fronts; centered in the aisle, they light the floor and put your body's shadow on everything you do. In most kitchens, 6–8 well-placed 4" cans outperform a dozen centered 6" ones. And put them on a dimmer — every kitchen circuit gets a dimmer, no exceptions. This placement discipline is a sibling of the layout discipline in our kitchen layout mistakes post: both fail when the plan is drawn for symmetry instead of work.
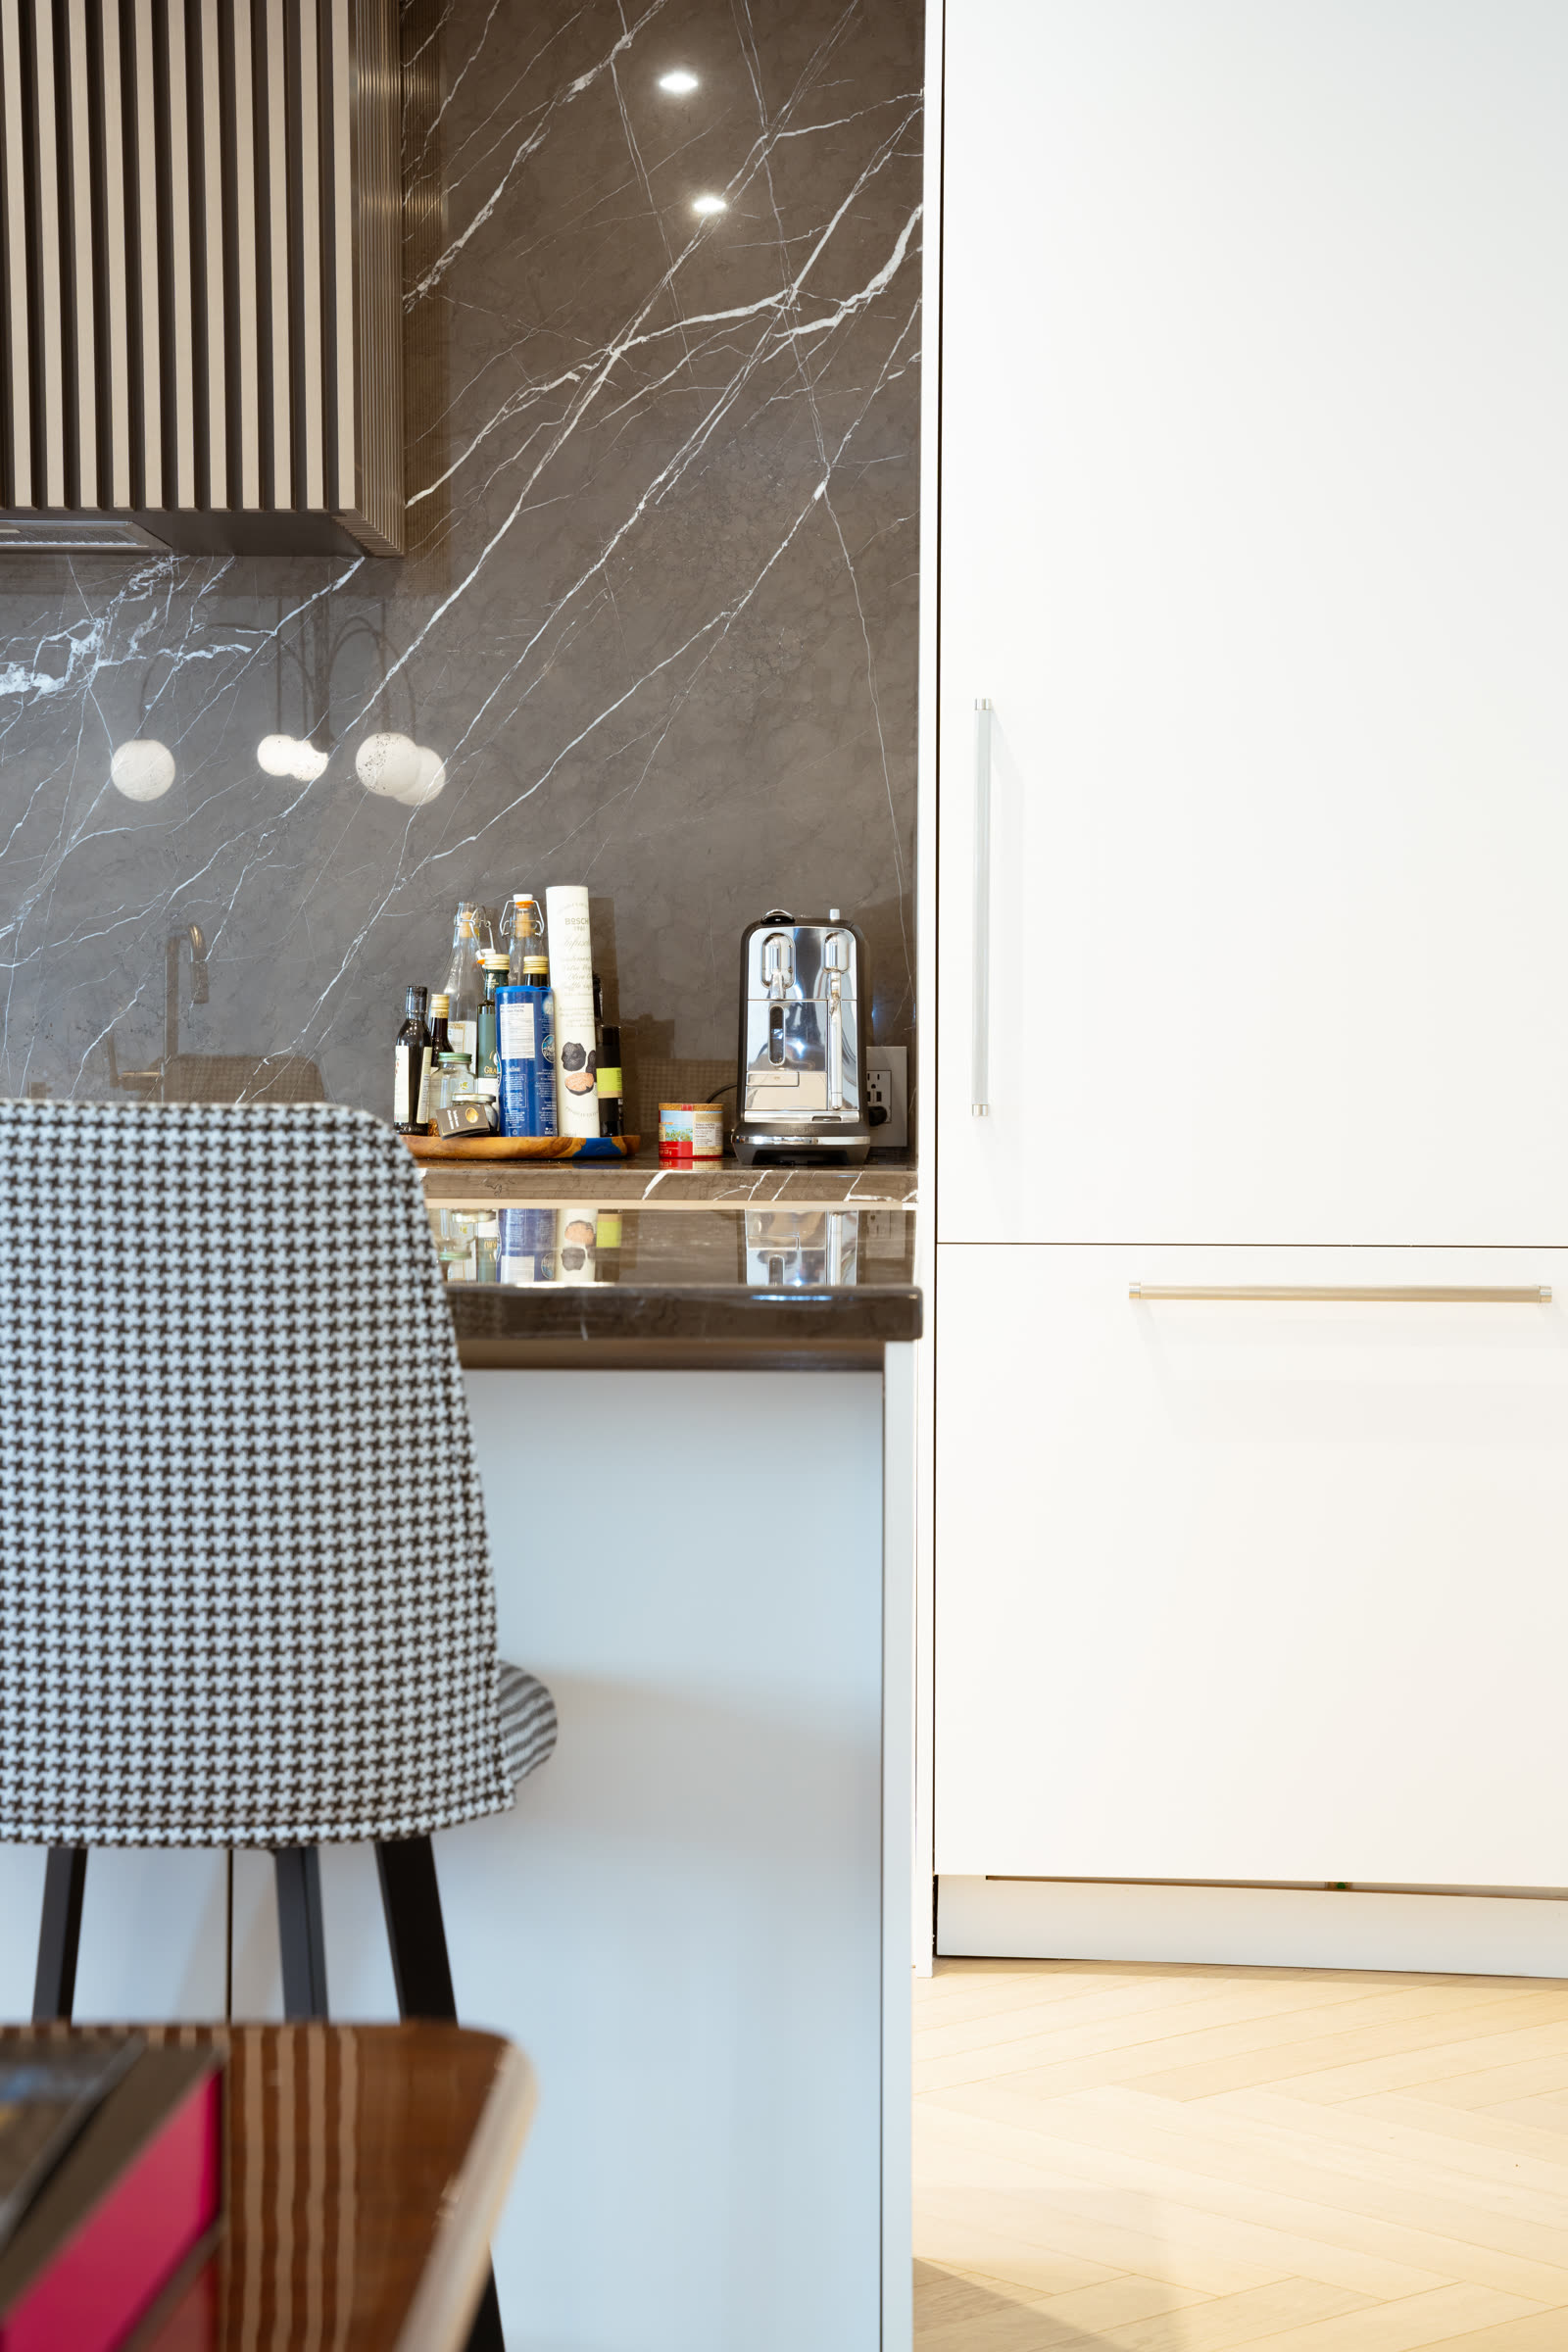
Under-cabinet lighting: the workhorse, done properly
If you install one thing from this article, install continuous LED under every upper cabinet. The details that separate great from annoying:
- Continuous strip, not pucks. Pucks make scallops of light and dark; a continuous strip in an aluminum channel makes one even blade of light down the whole counter.
- Front third of the cabinet, aimed down-and-back. Mounted at the back, the strip lights the backsplash and glares off it; mounted at the front edge behind a small valance or recessed channel, it lights the work.
- Diffused, always. Bare LED dots reflected in a polished quartz counter or a gloss backsplash look like a runway. A milky diffuser lens costs a few dollars a foot and erases the dots.
- Plan it with the cabinetry, not after. This is the part that touches my trade: recessed channels routed into the cabinet underside, wire chases drilled inside cabinets, and a light valance matched to the door finish have to be decided before the cabinets are built. We integrate lighting channels in the factory on most projects — retrofit tape stuck under cabinets works, but you'll see the difference at the first reflection.
- CRI 90+, minimum. Color rendering index is the spec that makes food and finishes look true. Cheap strips at CRI 80 make everything — tomato, walnut, your hands — slightly gray.
Color temperature: pick one, commit everywhere
The fastest way to make a kitchen feel cheap is to mix color temperatures — a 2700K pendant over an island washed by 4000K cans reads as a mistake from the doorway. Our standard: 2700K for wood-forward and traditional kitchens, 3000K for painted and contemporary kitchens, everything in the room matched. Warmer than 2700K turns whites yellow; 3500K+ belongs in workshops and dental offices, not over dinner. If you're tempted by tunable-white systems (warm evenings, brighter cool mornings), they're mature now and worth it in kitchens that live all day — just make sure every source in the sightline tunes together. One more interaction worth knowing: color temperature changes cabinet finishes visibly. A warm white door goes cream at 2700K; walnut goes red-amber. We hand clients door samples to view under their chosen temperature before finalizing either — the finish and the light are one decision, as inseparable as the pairings in our two-tone kitchen guide.
Island pendants: scale math and honest opinions
Pendants are jewelry with a job. The math that keeps them working: bottoms at 30"–36" above the counter (eye-line clearance seated and standing); diameter roughly island length ÷ number of pendants ÷ 2 — so a pair of 15"–18" pendants or three 10"–12" ones suit an 8-foot island; end pendants set in 12"–18" from the island's ends. Two big fixtures beat three small ones on most islands over 7 feet; a single oversized fixture beats both on islands under 6. And remember pendants are task lights over a surface people work and eat at: shaded or diffused sources, dimmed separately from the cans. Clear-glass bare-bulb pendants over a white quartz island are a glare machine — beautiful off, blinding on. For the island itself — size, clearances, seating — start with our kitchen island design guide.
In-cabinet and accent: the custom advantage
This is where cabinetry and lighting truly merge, and where planning at the factory level pays: glass-front cabinets with interior strips at the front edge (lighting the contents, not the back panel); glass shelves that carry light down through the whole cabinet; lit open niches in a coffee station or bar; toe-kick strips on a night-circuit — a 1 a.m. glass of water without retinal assault; and interior drawer lights that switch on with the drawer, a Häfele-fitted luxury that sounds absurd until you own it. Wiring for all of this — transformers hidden in a designated cabinet, chases drilled before finishing, switching zones planned — is a design-stage conversation. It's a standard part of how we build, and next to impossible to add gracefully after tile.
Practical takeaways
- Three layers, switched separately, designed in order: task, ambient, accent. Dimmers on everything.
- Cans over the counter edge (24"–30" off the wall), not gridded down the room's center.
- Under-cabinet: continuous, diffused, front-mounted, CRI 90+, planned with the cabinetry.
- One color temperature everywhere — 2700K wood/traditional, 3000K painted/modern.
- Decide lighting before cabinets are ordered; integration beats retrofit every time.
We design lighting integration into every kitchen we build — channels, chases, valances, and transformer housings, all resolved in the factory drawings. Bring your kitchen plans to a free 30-minute design consultation and we'll lay out all three layers over your cabinetry, or see lit projects throughout our custom kitchens. Made in Canada, lifetime warranty, glare not included.