
Toe Kicks, Plinths, and Floating Bases: The Detail Under Your Feet
Nobody has ever stood in a finished kitchen and said "look at that toe kick." That's precisely the point. The four inches of recessed space under your base cabinets is invisible when it's right and impossible to ignore when it's wrong — a gapping seam, a swollen mopped edge, a run that steps up and down because the floor wasn't level. It's also one of the few cabinetry details that directly affects how your body feels after two hours of cooking.
Here's what's happening down there and what you should specify.
The standard, and why it exists
North American convention is a toe kick 4 to 4.5 inches high and 3 to 4 inches deep (set back from the door face). The height came from a compromise between cabinet interior volume and foot clearance; the depth exists so you can stand with your toes under the cabinet and your body against the counter edge.
European systems approach it differently. Most work on a 150 mm (5.9-inch) plinth, sometimes 100 or 120 mm, and the plinth is a separate component clipped to adjustable levelling legs rather than built into the cabinet box. That difference matters more than it sounds, and I'll come back to it.
Two adjustments worth making. If the primary cook is tall — over about 5'10" — increasing the toe kick depth to 4.5 or 5 inches lets them stand closer to the counter and reduces forward lean, which is where back pain comes from. And if the counter is being raised above the standard 36 inches for the same reason, the toe kick should grow with it. We cover the whole standing geometry in counter heights that fit your body.
Integral base versus levelling legs
This is the real fork in the road, and it's a construction question most clients never hear about.
Integral (ladder) base: the toe kick is part of the cabinet box, built at the shop as a continuous frame the box sits on. Traditional North American construction. It's rigid and simple, but every cabinet arrives at a fixed height, so a floor that slopes 3/8 of an inch over 10 feet has to be corrected with shims under the whole assembly, and the toe kick has to be scribed to follow the floor.
Adjustable levelling legs plus a clip-on plinth: each cabinet sits on four to six plastic or metal legs, each independently adjustable through roughly 25 mm of travel. The installer sets every cabinet dead level to a laser line, then clips a continuous plinth panel across the front. European standard, and what we use on most of our frameless work.
Why legs win: the cabinets are level regardless of the floor, the plinth is a single uninterrupted panel with no seams at cabinet joints, and if a leak or a renovation happens later, the plinth pops off and the whole under-cabinet space is accessible. The legs also lift the cabinet box a few millimetres off the floor, which means a spill on the floor doesn't wick into the box bottom. The downside is a small cost premium and the fact that a clip-on plinth can be knocked loose by an aggressive vacuum. This is one of several practical advantages discussed in frameless versus framed construction.
Materials: what survives being mopped
The toe kick is the wettest, most abused surface in the kitchen. It gets mopped, kicked, hit by vacuum heads, and it sits in whatever water pools on your floor. Painted MDF at floor level is a bad idea and I'll say that plainly — the bottom edge wicks, swells, and the paint film lifts, usually within three to five years in a household with children or dogs.
What we specify instead:
- Matching laminate or PVC-faced panel in the door colour. Waterproof, wipeable, cheap. Our default on painted kitchens, and the colour match on a modern flat panel is invisible from standing height.
- Brushed or anodized aluminium plinth. Contemporary, absolutely bulletproof, and it disappears into shadow. Common in European kitchens and our first choice in a kitchen with a dog.
- Solid wood or veneer on stained kitchens, sealed on all six faces including the bottom edge and the back. That back seal is the detail that gets skipped and it's the one that matters.
- Stone or tile, running the floor material up the toe kick. Beautiful in a Mediterranean or traditional kitchen, permanent, and it makes the cabinetry look like it grew out of the floor. Costly and unforgiving of later changes.
Floating bases and lit plinths
The contemporary move is to eliminate the toe kick entirely and float the cabinetry: set the boxes on a hidden steel or aluminium sub-frame recessed 4 to 6 inches, so the run appears to hover. Add a continuous LED strip in the recess and the whole kitchen reads as lighter than it is, and you get a genuinely useful night light at floor level.
Practical notes on floating bases. The recess must be deeper than a standard toe kick — 5 to 6 inches — or the shadow doesn't read. The LED should be a warm 2700K to 3000K continuous strip in an aluminium channel with a diffuser, dimmed, not a string of pucks. Cleaning underneath is harder, not easier: you cannot reach a floating cabinet's underside with a mop, and dust accumulates in the recess. And the sub-frame is structural — it carries the full cabinet load plus stone, so it must be engineered and anchored, not improvised. Costs run $1,200 to $3,500 more than a standard plinth on a typical kitchen, plus electrical. The lighting side of this is covered in integrated cabinet lighting.
The details that go wrong
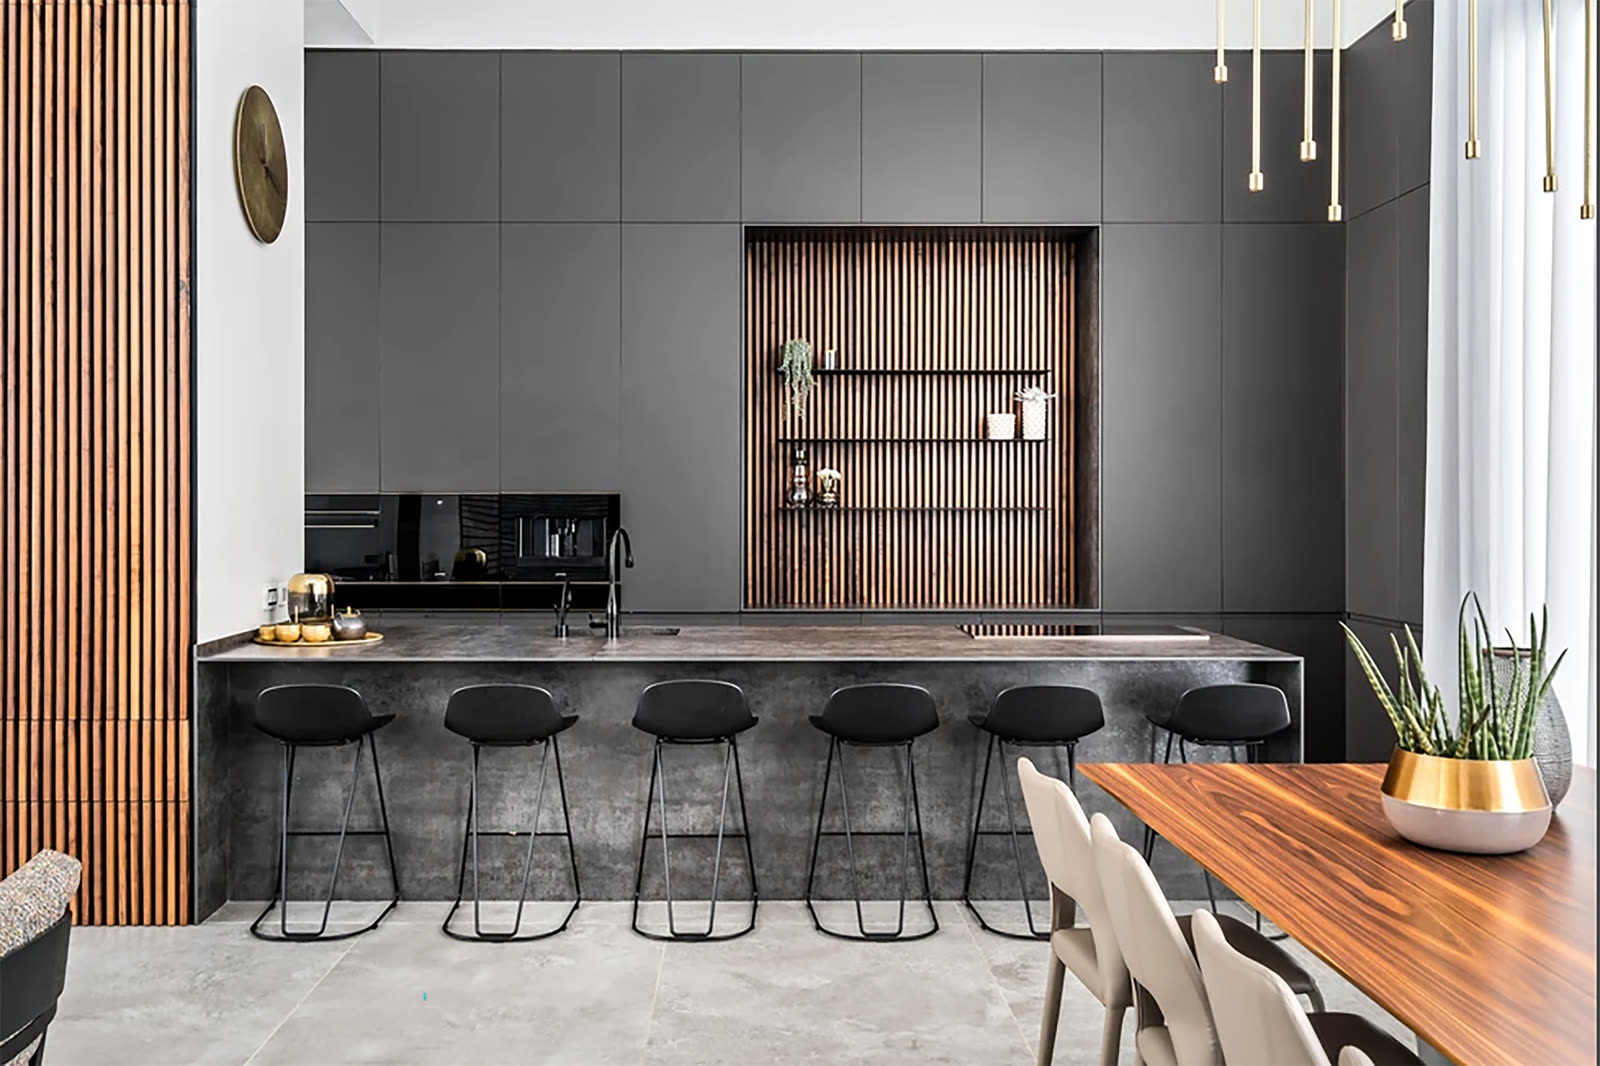
Toe kick at an island. An island's toe kick should run on the working sides only. The seating side gets a flush panel to the floor, because a recess there is where feet and stool legs collide and where crumbs collect out of reach. Get this on the drawing.
Flooring installed after cabinets. If the floor goes in after the cabinets, the toe kick has to be trimmed or the floor scribed to it, and the finished toe kick height shrinks. Decide the sequence early — we ask about it on every job — and if the flooring is going in first, confirm the final thickness including underlay before we cut anything.
Appliance panels at floor level. A panel-ready dishwasher's panel typically stops above the appliance's own toe area, and the manufacturer supplies or requires a specific toe strip. If the cabinetry plinth and the appliance toe don't align, you get a visible step in the run. This gets solved on the shop drawing, not on site.
Toe-kick drawers. Shallow 3 to 4-inch drawers built into the plinth. Genuinely useful for baking sheets and platters stored flat, and a favourite in small kitchens where every cubic inch counts. They need a low-profile slide and they can't be used where levelling legs are set. Budget $400 to $700 each.
Practical takeaways
- 4 to 4.5 inches high, 3 to 4 deep as standard; go deeper for a tall cook.
- Adjustable legs with a clip-on plinth beat an integral base on level floors, seams, and future access.
- Never painted MDF at floor level. Use laminate, aluminium, sealed wood, or tile.
- Floating bases need a 5 to 6-inch recess, an engineered sub-frame, and a plan for dust.
- No toe recess on the seating side of an island. Flush panel to the floor.
Details like this are what separate cabinetry that's still tight in fifteen years from cabinetry that isn't — and they're all decided before production starts. Book a free 30-minute design consultation, or look at how we detail bases across our custom kitchens, built in our own USA and Canada plants.