
Where to Put the Microwave: Five Placements, Ranked by a Cabinetmaker
No appliance generates more design arguments per cubic foot than the microwave. Nobody wants to look at it, everybody wants to use it, and it has to go somewhere. Over thirty years I've placed them in every position a kitchen allows, watched clients live with the results, and formed some firm opinions. Here are the five real options, ranked, with the heights, clearances and costs that decide between them.
1. The microwave drawer
A 24 or 30-inch unit installed in a base cabinet, opening like a drawer. This is my default recommendation and has been for about fifteen years.
Why it wins: you look down into it rather than up, which means no lifting a bowl of boiling soup above shoulder height — a genuine safety issue and the reason it's standard in every aging-in-place kitchen we design. It disappears completely into a run of drawer fronts. It's reachable by children and by anyone seated. And it frees the wall entirely.
The numbers: a 24-inch drawer needs a cabinet opening of roughly 23 to 24 inches wide and 15 to 17 inches high, with a specified depth of 22 to 24 inches plus a rear service gap. Install height: we set the top of the drawer 30 to 34 inches off the floor, which puts the cavity floor at a comfortable reach. It must not go directly under a cooktop without confirming the manufacturer's clearance — many require 3 to 5 inches of separation and some prohibit it entirely.
Cost: the appliance is the expensive part, typically $1,100 to $2,400 versus $200 to $600 for a countertop unit. The cabinetry is a plain box. Best location: in the island facing away from the seating side, or in the run adjacent to the prep zone.
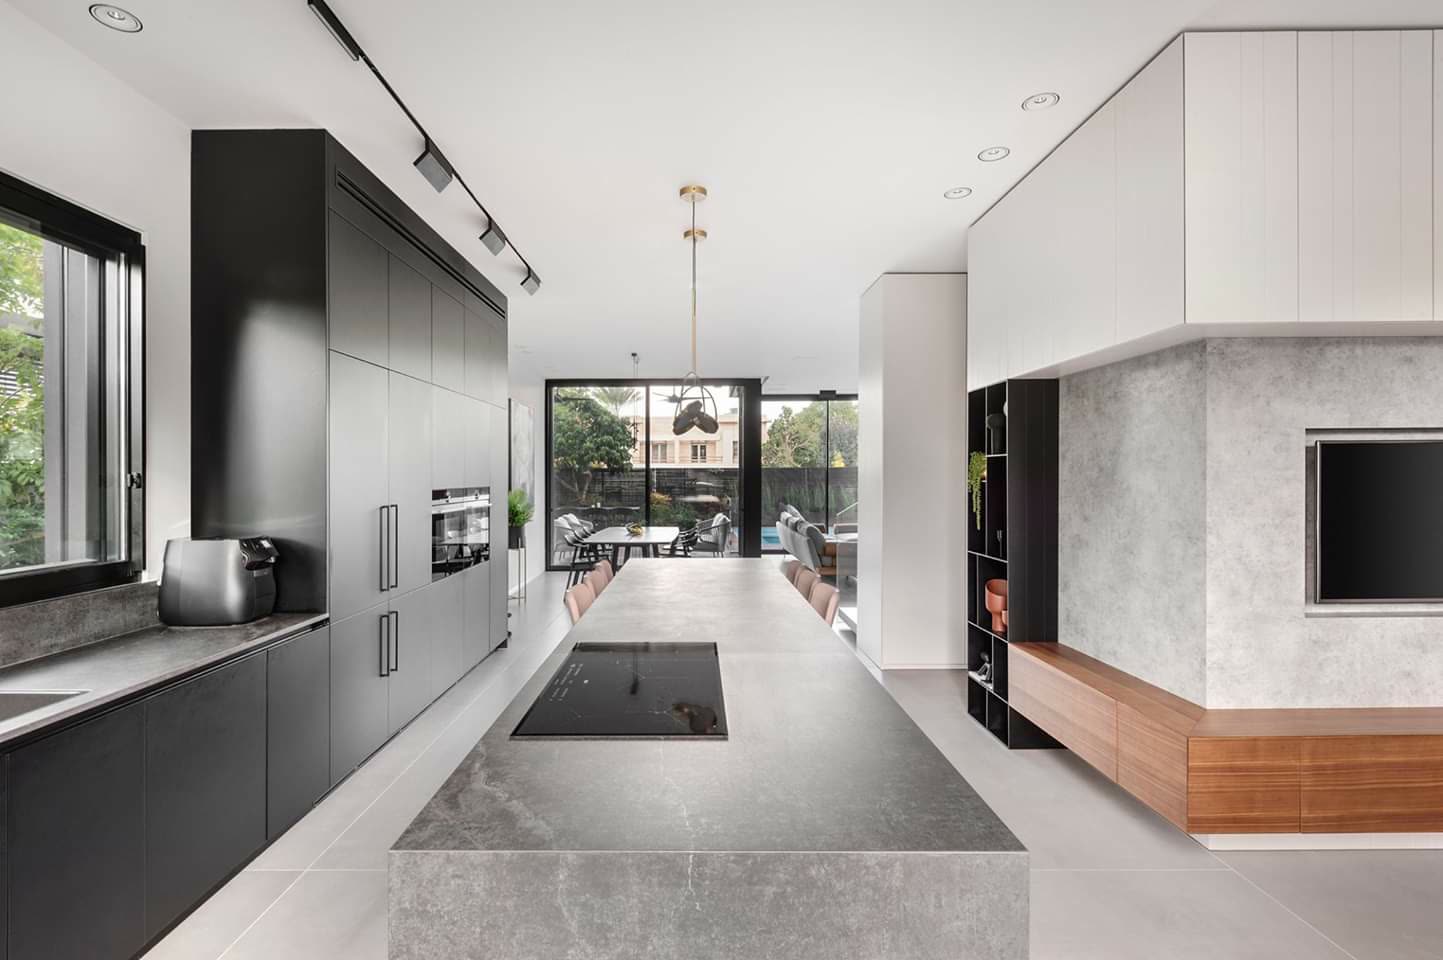
2. Built into a tall cabinet stack
A standard countertop or built-in microwave installed with a trim kit into a tall unit, typically stacked above or below a wall oven.
Why it works: it puts the microwave at an ergonomic height in a bank of appliances, keeps it out of the work counter, and looks intentional. Pair it with a wall oven and the stack reads as a single designed element rather than a random appliance.
The critical numbers: the bottom of the microwave cavity should sit between 36 and 48 inches off the floor. Higher than 54 inches and you are lifting hot liquid above your chest — I refuse to specify a microwave above a wall oven if the resulting height exceeds that, no matter how much better the elevation looks, and I'll say so on the drawing. A trim kit is mandatory for a countertop unit installed in cabinetry; it provides the ventilation path and it is model-specific. Never enclose a countertop microwave in a tight cabinet without one — you'll cook the electronics.
Cost: the trim kit is $150 to $400. The cabinetry premium for a tall appliance stack over plain tall storage is roughly $400 to $900.
3. Undercounter, in a base cabinet with a door
A built-in microwave in a base cabinet, behind a hinged or pocket door, or open with a trim kit.
Why it works: it's the cheapest way to get the microwave off the counter and out of sight. Good in a butler's pantry, a coffee run, or a beverage centre.
The catch: low. You bend or crouch to load and unload, and you reach into a hot cavity at knee height. Acceptable in a secondary location, tiring as a primary. If you do it, don't put it below 15 inches from the floor, and don't hide it behind a door that you must hold open while you work — use a pocket door or leave it open-fronted with a trim kit.
4. Over the range (the microwave hood)
The over-the-range combination unit. I'll be direct: this is the placement I argue against most often, and it appears in a large fraction of the plans that arrive at our showrooms.
Why people choose it: it saves space and costs the least — one appliance doing two jobs, no separate hood, no lost cabinet.
Why I push back: it is a bad hood and a badly located microwave. Over-the-range units move 300 to 400 CFM at best and many recirculate rather than vent outside; a proper wall hood over a serious range moves 600 to 1,200 CFM and captures at the right depth. Meanwhile the microwave sits 54 to 66 inches off the floor, directly over hot burners, which means reaching across a live cooktop with a hot dish. Code and manufacturer specs require 30 inches from the cooktop to the bottom of an unprotected cabinet, or as little as 13 to 24 inches to the bottom of a listed over-range microwave — which tells you how close it sits to the flame.
If ventilation matters at all in your household — and it does if you sear, fry or wok — read our guide to hood types and cabinet integration before committing. Where budget forces the combination unit, at least insist on a version that ducts outside.
5. Hidden in a pantry or appliance garage
The microwave lives inside a tall pantry, on a fixed shelf with a trim kit or on a heavy-duty pull-out shelf, behind doors that close.
Why it works: the kitchen elevation stays completely clean, which is why this is common in the scullery and butler's pantry plans we build. It also groups the microwave with the toaster, the kettle, and the rest of the counter clutter.
The requirements: ventilation is the whole issue. A microwave in a sealed cabinet needs either a trim kit that establishes an air path, or a cabinet designed with relief openings at top and bottom, and the doors need to be open during use unless the unit is rated otherwise. A pull-out shelf must be rated for the appliance weight — most microwaves are 30 to 60 lbs and a standard shelf slide is not enough. Specify a 100-lb-rated mechanism.
What to decide, in what order
- Decide who uses it. If children or anyone with limited reach or strength uses the microwave daily, that alone rules out over-the-range and high stacks.
- Decide whether you need real ventilation. If yes, the microwave and the hood become separate appliances, and that changes the budget by $800 to $3,000.
- Get the model number early. Cavity dimensions, trim kit availability and clearance requirements vary by model, not by category, and they must be on the drawings before production begins.
- Check the outlet. Built-in and drawer units need a dedicated receptacle in a specific location relative to the cavity — usually in the adjacent cabinet, not behind the unit.
Practical takeaways
- Microwave drawer first: safest, cleanest, most flexible. Top of drawer 30–34 inches off the floor.
- Tall stack second: cavity floor between 36 and 48 inches, never above 54.
- Undercounter is fine as a secondary; over-the-range compromises both cooking ventilation and safety.
- Any microwave inside cabinetry needs a model-specific trim kit or an engineered ventilation path.
- Pull-out shelves carrying a microwave need 100-lb-rated hardware, not standard shelf slides.
Placement is one of those decisions that's free to change on a drawing and expensive to change after production. Book a free 30-minute design consultation with your appliance list in hand, or see how we integrate appliances throughout our custom kitchens.