
Planning Gas, Water, and Electric for an Outdoor Kitchen
Nobody falls in love with a trench. Clients want to talk about grills, stone, and powder-coat colors — and the part of the project that actually determines whether the kitchen works is buried eighteen inches under the pavers. Utilities are also where outdoor kitchen budgets blow up, because they're invisible in showroom pricing and brutally expensive to add after the hardscape is finished. Saw-cutting a finished travertine patio to add the drain line someone forgot costs more than the sink it serves.
Here's how we plan gas, water, and electric — in that order of consequence — and the sequence that keeps you from paying for the same patio twice.
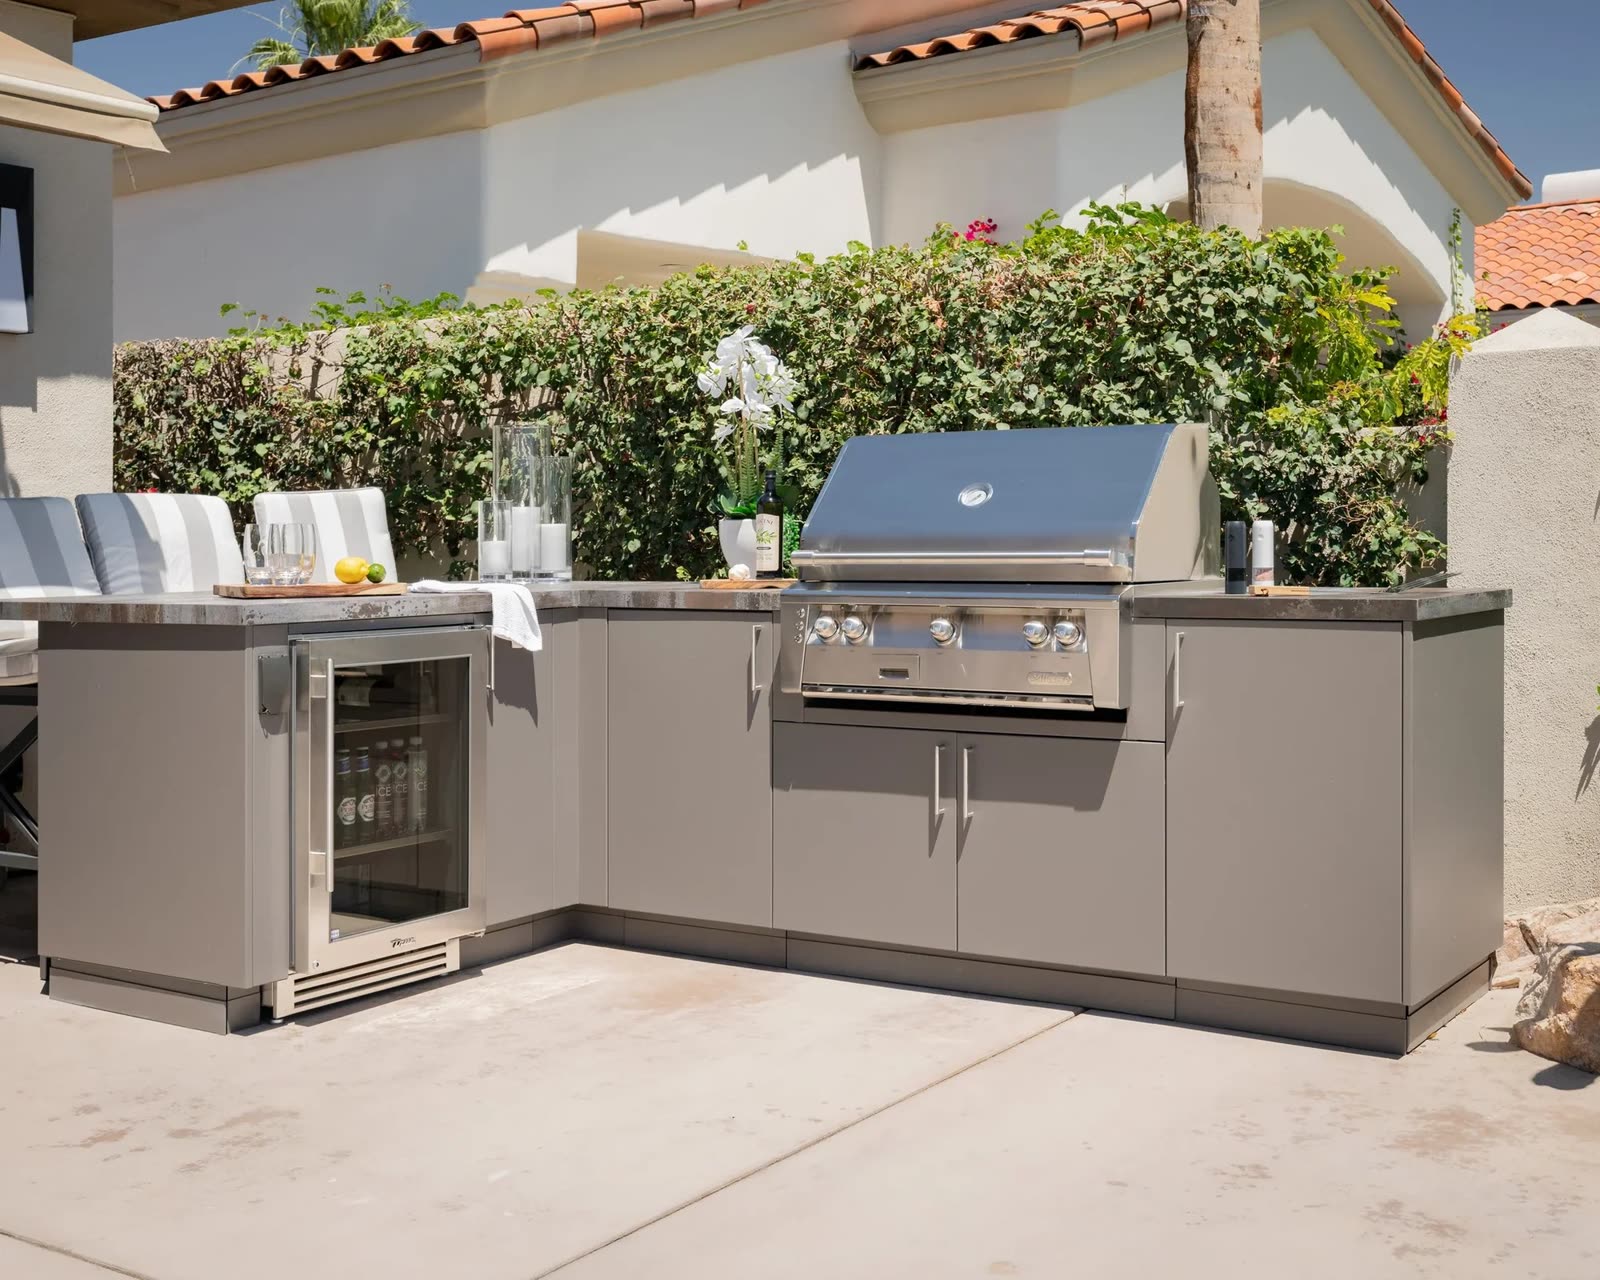
Gas: the line that sizes everything
The single most common utility mistake we encounter: a gas line teed off the house system that's too small for the appliances it feeds. Gas capacity is a function of pipe diameter, run length, and total demand — and outdoor kitchens are demanding. A 42-inch grill alone can draw 75,000–100,000 BTU/hr; add a power burner (60,000), a pizza oven, and a patio heater and you're carrying 250,000+ BTU/hr to the far corner of the yard. A half-inch branch line that happily runs a cooktop will starve that manifold, and a starved grill is a grill that never sears — owners blame the appliance for years without suspecting the pipe.
The rules we work to: total the BTU demand of every current and plausible future appliance, then have the plumber size from the gas code tables for the actual run length — long runs to detached islands often need 1-inch or larger pipe, or a higher-pressure system with a regulator at the kitchen. Every appliance gets its own shutoff valve inside the cabinet, plus one accessible master shutoff for the whole kitchen — non-negotiable for service and for storm prep, as our hurricane guide explains. Underground runs are sleeved where they pass under slabs, with tracer wire, at code depth. And enclosed cabinetry housing gas appliances must be ventilated so leaked gas can't pool — engineered into our aluminum kitchens, an afterthought in too many masonry ones. Propane users: a buried remote tank beats cylinder-swapping forever, but note LP is heavier than air, which makes cabinet venting even more critical.
Water: the luxury that needs an exit
Supply is the easy half — a cold line to an outdoor sink is straightforward plumbing, and hot water is achievable with an insulated run or a small point-of-use heater in a weatherproof cabinet bay. The hard half is drainage, which is exactly the part people forget. Your options, in descending order of preference:
- Tie to the sanitary sewer — the correct answer where feasible, and required by many jurisdictions if the sink sees food waste. Needs proper slope (¼ inch per foot), a trap, and venting, which is why sink position gets decided at design, not delivery.
- Dry well / French drain — acceptable in some areas for rinse-water-only sinks; check local rules, they vary wildly.
- No sink at all — genuinely defensible for kitchens within 30 feet of an indoor kitchen. A sink you can't drain properly is a liability, not a luxury.
Two additions from hard experience: ice makers need a drain too (clear-ice units purge water constantly), and every water line in a freeze climate needs slope back to a blow-out fitting with an interior shutoff — winterization is a ten-minute job when it's designed in and a burst pipe when it isn't. The full cold-climate protocol is in our Northeast winter guide.
Electric: more circuits than you think
Walk the appliance list and count: refrigerator, ice maker, grill (yes — rotisserie motors, ignition, and hood lights need power), lighting, ceiling fans, bar outlets for blenders, maybe a TV, maybe a pellet or electric smoker. A single GFCI outlet teed off the porch circuit — the default in cheap builds — dies the first time the blender and the fridge meet.
Our standard rough-in for a full kitchen: a dedicated 20-amp circuit for refrigeration (a fridge that trips with the margarita machine spoils brisket silently); a second 20-amp small-appliance circuit for counter outlets; lighting and fans on their own circuit with switching or smart control at the house and at the kitchen; and conduit — always conduit, oversized, with a pull string left in it. The empty conduit is the cheapest insurance in the entire project: the client who "will never want a TV out there" wants one within two years, and the future outdoor sauna, EV pergola outlet, or landscape lighting upgrade rides the same pipe. Everything outdoors is GFCI-protected, in-use covers on every outlet, wet-rated fixtures only — IP65 or better anywhere water can reach, as covered in our lighting and fans guide. Low-voltage deserves its own small trench conversation too: landscape lighting, speakers, and Wi-Fi (a weatherproof access point turns the smart grill's app from decorative to functional).
Permits, inspections, and who does what
Gas and electric work on an outdoor kitchen is permitted, licensed-trade work in essentially every jurisdiction we build in — and that's a feature, not a burden. The inspector who pressure-tests the gas line is the reason the kitchen doesn't become a news story; the permit record matters again at insurance-claim time and at resale. Budget honestly for it: utility rough-in typically lands at 10–20% of total project cost — $3,000–$15,000+ depending on distances and site — and it's mapped against everything else in our cost breakdown.
The sequence that saves patios
Design the kitchen completely first — layout locked, appliances selected with cutout and utility specs in hand — because stub-out positions come from the cabinet drawings, not from guesswork. Then: (1) utility trenching and rough-in to marked positions, (2) inspection, (3) hardscape over the sleeved runs, (4) cabinetry set and leveled, (5) trades return for final connections, (6) counters and appliances. When clients come to us after pouring the patio "ready for a kitchen" with one gas stub in the wrong place, everything above ground ends up compromised to serve one badly placed pipe. The kitchen should command the utilities; never the reverse.
The renovation case: adding utilities to an existing patio
Not every project starts with bare dirt, so here's the honest playbook for finished hardscape. Option one: trench the lawn, not the patio — routing utilities the long way around through planting beds costs more pipe and less heartbreak than cutting stone. Option two: core and tunnel — for short crossings, contractors can bore under a slab and sleeve utilities through, leaving the surface untouched. Option three: embrace the perimeter — design the kitchen against the house wall or patio edge where utilities can arrive from the structure or the bed behind it, no crossing required; plenty of excellent kitchens are linear for exactly this reason. Option four, the honest fallback: relocate the kitchen to where the utilities can reasonably go. What we counsel against is the compromise everyone reaches for first — running conduit and gas in surface-mounted channels along the hardscape. It reads as temporary forever, trips guests, and fails inspections in most jurisdictions. A kitchen placed right for its utilities beats a kitchen placed pretty and plumbed badly, every time.
Practical takeaways
- Size the gas line for total future BTU demand and real run length — starved grills get blamed for pipe mistakes.
- No drain plan, no sink. Drainage, not supply, is the hard problem.
- Refrigeration gets its own circuit; everything gets GFCI; conduit gets oversized with a pull string.
- Master gas shutoff, per-appliance valves, ventilated appliance cabinets, winterizable water.
- Lock the full kitchen design before anyone digs — utilities follow drawings, hardscape follows utilities.
Every iKitchen outdoor kitchen ships with dimensioned utility rough-in drawings your plumber and electrician work from directly — no guesswork under the pavers. Explore our outdoor kitchens, or book a free 30-minute design consultation and we'll walk your site plan together before anything gets poured.